Populate Figma designs with Kirby data
Intro
Whether you design yourself or work with a team of designers, today we're going to help you save hours of work and a few mistakes.
Let's learn how to create an API with Kirby that will help us fill our designs made in Figma almost magically!
This can be very useful in different cases, in this example we will focus on Instagram. As an agency we often create websites with of a lot of data and publications such as testimonials, blog articles, professional profiles (CVs), etc. Why don't we use all this data to streamline the creation of content for our social networks?
Why don't we create a design for blog posts? One for our Instagram feed and another one for a story.
This recipe assumes that you have a Kirby installation with a set of blog articles and a template called blog.php. To follow along, you can also use Kirby's Starterkit and adapt the template and field names where necessary.
Creating an endpoint for data
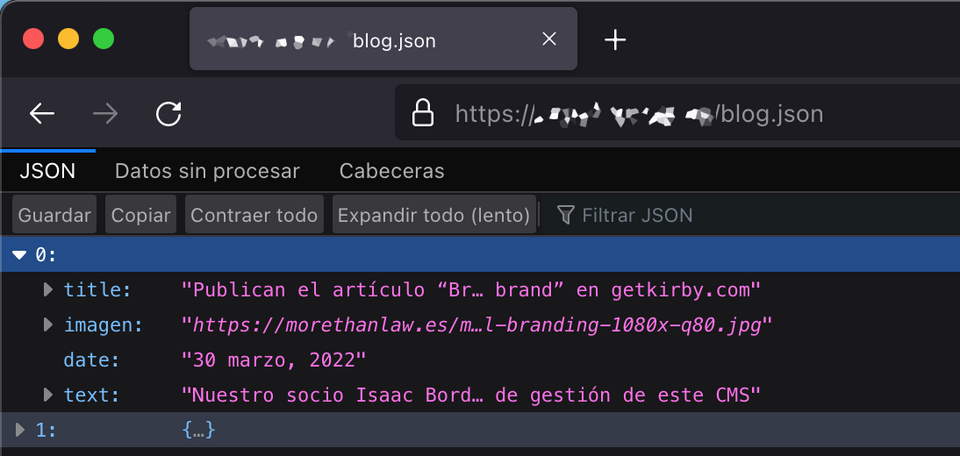
First, we export the fields we need for each post, for example the title and date, an image and an extract of the text. We will now export them as JSON.
Assuming that your Kirby blog has a template called blog.php, we create a corresponding JSON content representation template called blog.json.php.
It is important to note that for blog.json.php to work correctly, the template blog.php must exist previously.
<?php

// Let's get, for example, the last 20 posts.
$posts = $page->children()->listed()->sortBy('date', 'desc')->limit(20);
// Initialize the $json array
$json = [];

foreach($posts as $post) {

  // We loop through the fields we need and put them into the array.
  // Note that in this case I use 'date.handler' => 'strftime' in Kirby's config.php to format the date
  // with html::decode we remove the HTML that Figma cannot parse
  $json[] = [
    'title'  => Html::decode($post->title()),
    'imagen' => $post->image()->resize(1080,null,80)->url(),
    'date'   => $post->date()->toDate('Y-m-d'),
    'text'   => Html::decode($post->text()->excerpt(150)),
  ];

}

echo json_encode($json);
Now, when you access domain.com/blog.json, you should see the last 20 posts formatted in JSON. Nice isn't it?
Importing data in Figma
Now we will move on to Figma. We are going to design a post for the feed and another one for a story. Something simple like this:
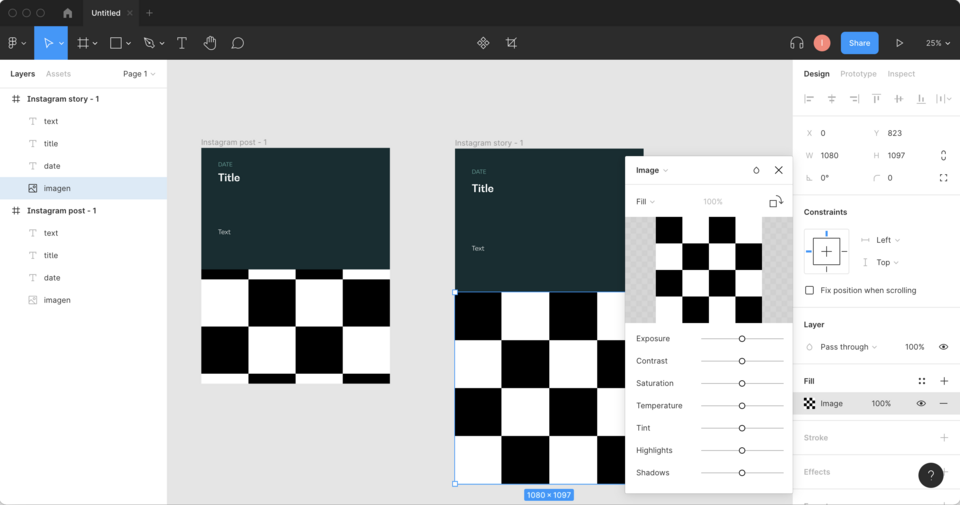
Note that the titles of the layers must be the same as the keys of the JSON we created: title, imagen, date, and text. The image will be a rectangle with the fill as an image.
Ok, now let's connect the content we have in Kirby with our designs in Figma. How do we do it? With the "JSON to Figma" plugin:
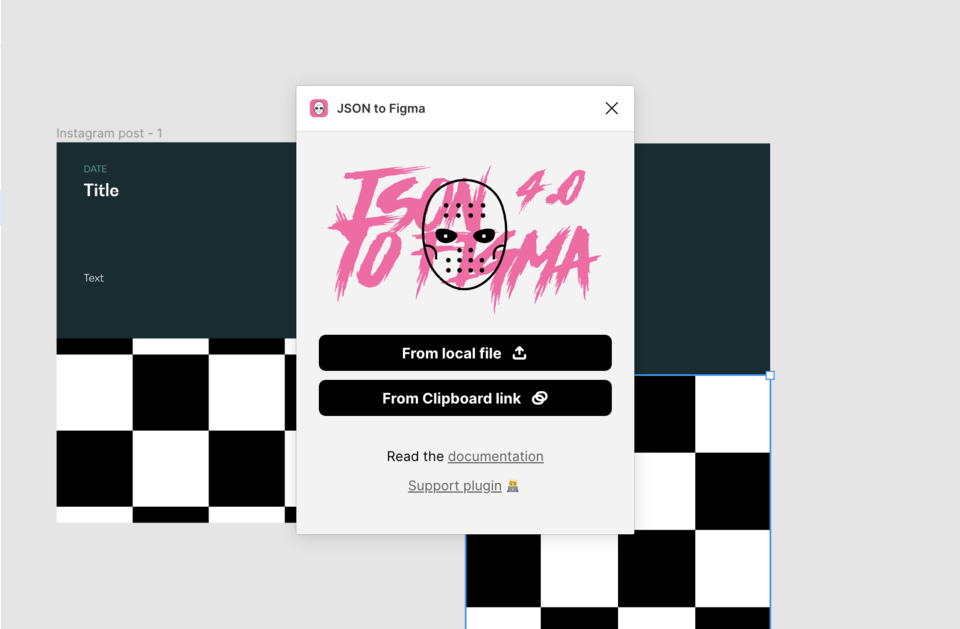
To import the JSON from our website, copy the URL, e.g. https://yourwebpage.com/blog.json, then click on the "From Clipboard Link" button of the plugin.
Alternatively, if you are working locally, you can save the JSON to file and then choose the "From local file" option of the plugin.
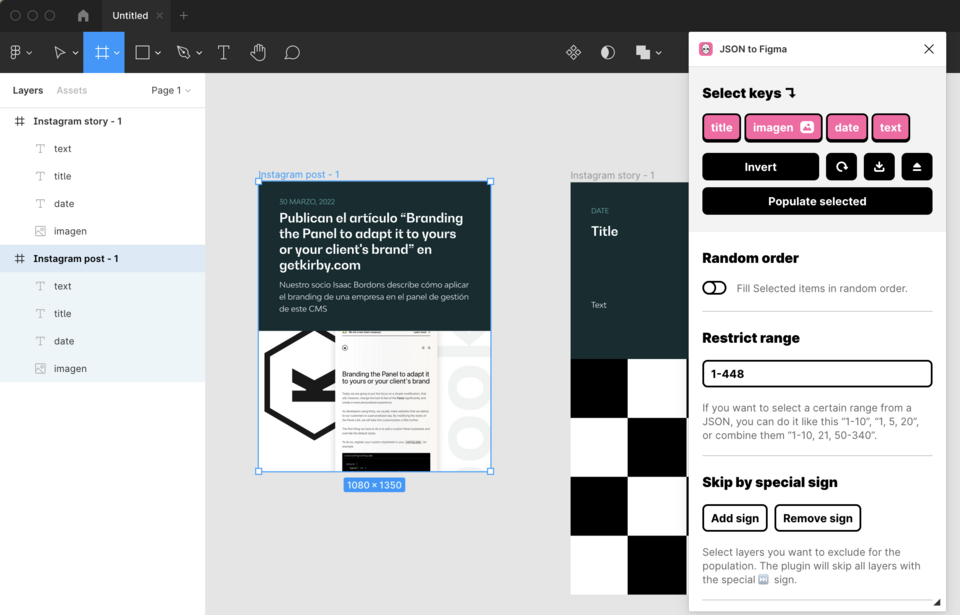
Now select the frame “Instagram post - 1” and the keys to use in the plugin, then click on the "Populate selected" button:
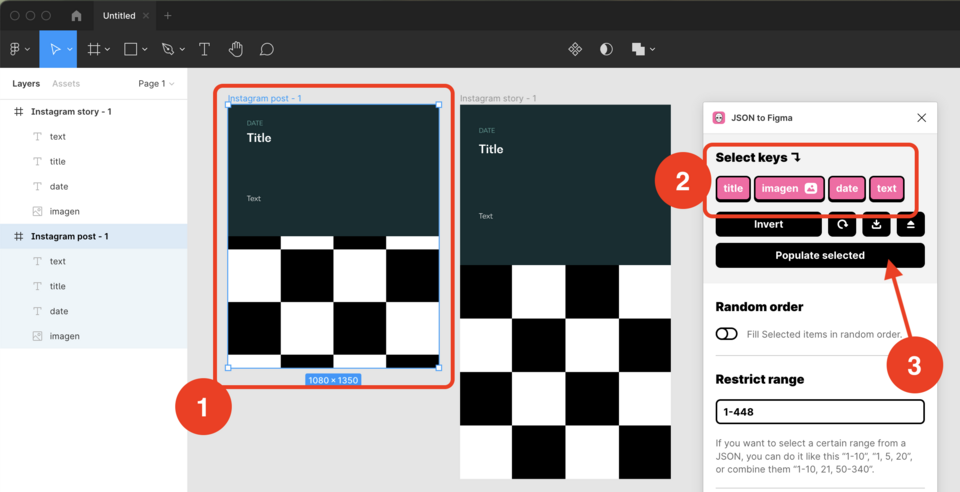
And "automagically" our design will be filled with the last post that we published in Kirby. The only thing left to do is to export the frame as an image and publish it on Instagram.
This is very simple, but imagine all the things that can be automated in this way. I hope it will be useful for your workflow.
